Welcome to my Wednesday Cricut Journal post for this week. Last night I had a lot of fun just playing around!! If you haven’t heard, Cricut has come out with INK!! Infusible Ink.

Basically, you have two ways of administering ink onto your surface: Infusible Ink Transfer Sheets and Infusible Ink Markers (used with Laser printer paper). Using a heat press (preferably the Easy Press), you “infuse” the ink into your material.

One of the tenants of the Infusible Ink is that you only use Cricut ‘Blanks‘ to infuse onto because Cricut can guarantee you success when you use their products. Now, you know me! I’m a HUGE proponent of Cricut products. But I’m also an instant gratification gal…and my family is a 100% cotton kinda family. That combination has caused me to try out my infusible Ink Transfer sheet on some Essex Linen!!
I was surprised by the results!!!
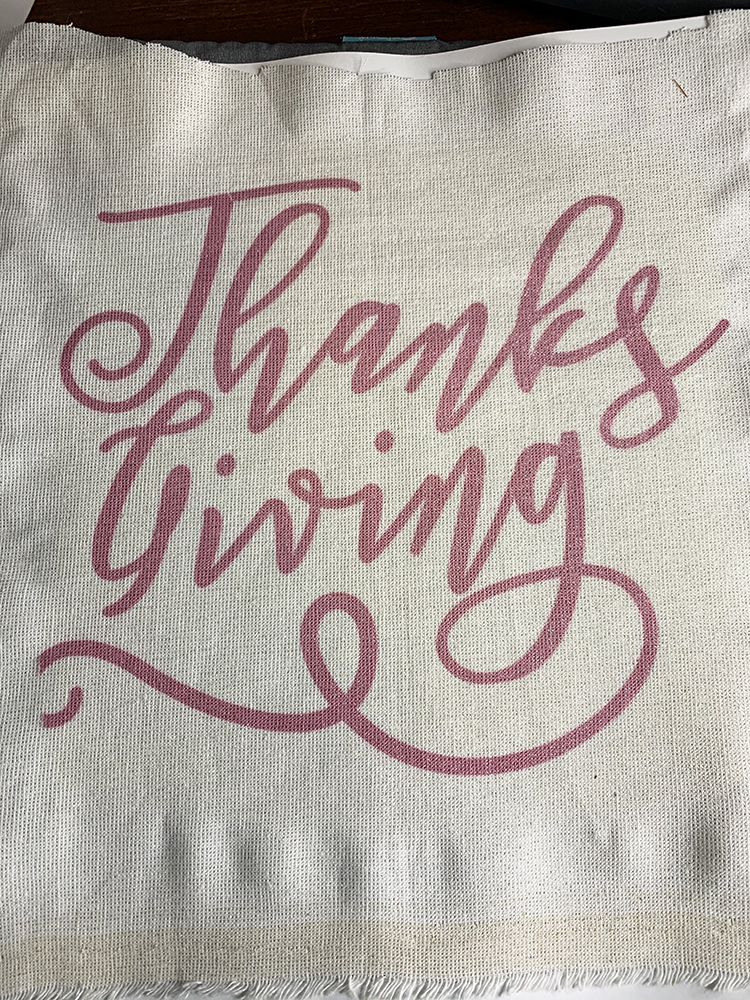
First, I picked a design I wanted to use from Cricut Access (Thanksgiving tote) and I cut it out of the Infusible Ink Transfer Sheet. I had thought I wanted to put a scripture around it in grey, so I cut that out, too.
A few tips when cutting out from an Infusible Ink Transfer Sheet.
- Make sure your glossy side is down and colored ink side is up.
- Make sure ‘Mirror’ is on when cutting.
- If your mat is well-loved, use washi tape to keep your transfer sheet on your cutting mat.
- Before you cut your design out, go ahead and check your Easy Press directions and get it all set up and on!
- Use your weeding tool to take excess dried ink off of the transfer sheet before infusing it! (Can someone tell me where I stashed my fabulous tool????)
- Make sure your design is within the size of your heat press.
After I cut out my design and my Easy Press was ready to go, I cut out a small piece of Essex Linen (white metallic) and got the layers (butcher paper, regular 80lb cardstock, and my Easy Press Mat) ready to use. (Refer to the Easy Press Infusible Ink order of directions!!!) I followed the directions using my Easy Press 9″x9″. I have an Easy Press 2 which gets hotter, but it’s only a 6″x6″ and didn’t completely cover my design. As a matter of fact, my 9″x9″ barely covered it, too…
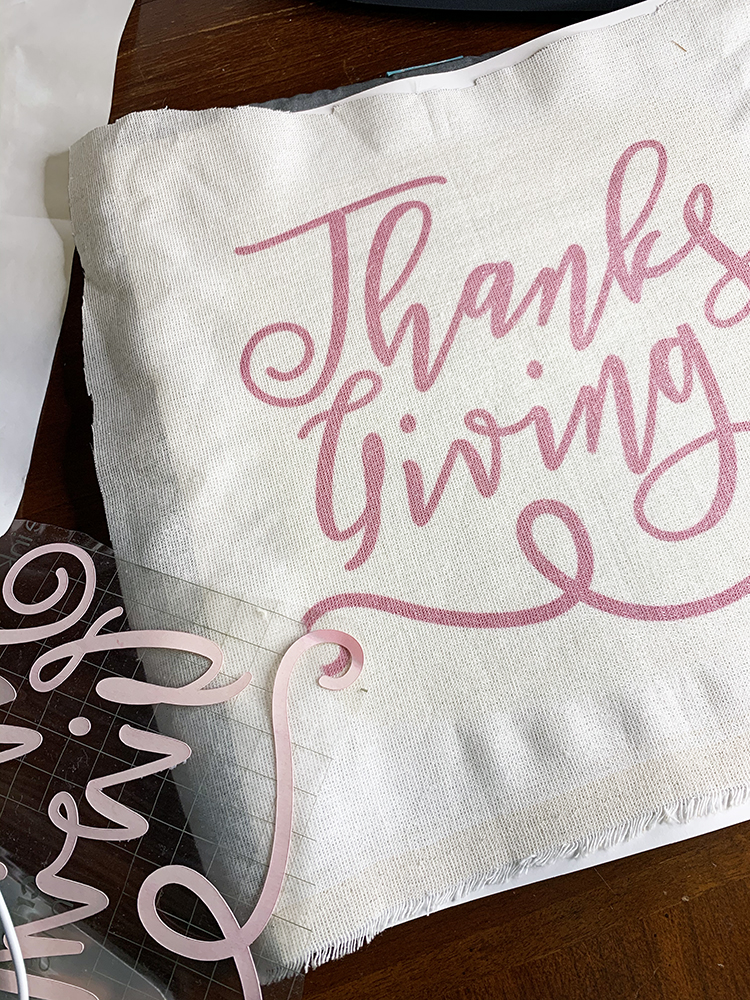
One of the most surprising things was the color of the transfer sheet…kinda dull. And then after the heat infused the ink, the color was a much bolder pink. I loved that!!
Because of the length of time I had to hold the Easy Press down and because my material wasn’t Cricut blank compatible, there was a bit of browning in the heat process. Surprise! But look at that design! It looks fabulous!
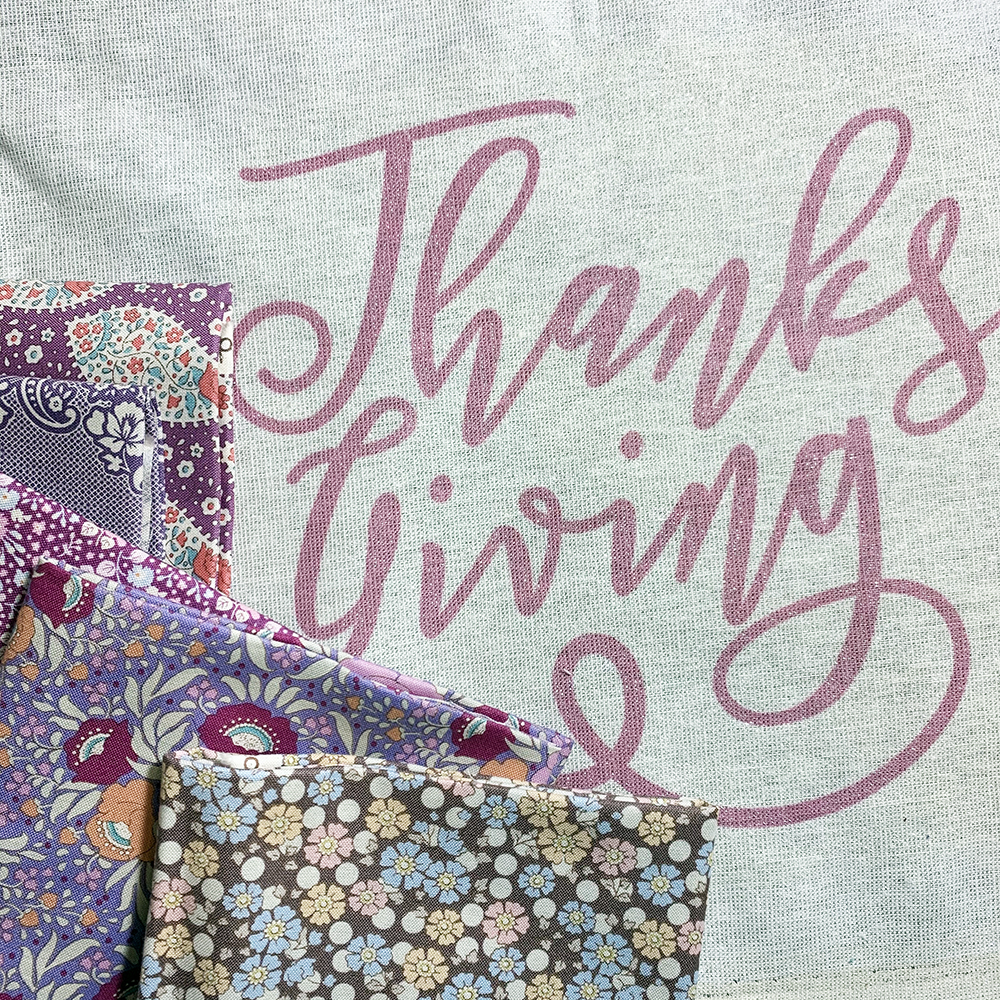
I plan on building a wall hanging/banner from this, and the fabrics I’m picking will go over that edge so that you don’t see the line of heat.
In the Cricut FAQs about Infusible Ink, it explains that this material is a bit expensive to “experiment” with. I figured out that I spent about $5 on this transfer sheet and maybe about $3 for the material. So aside from my time, I feel like $8 was the perfect investment to see how this ink worked. And I can’t wait to have a gorgeous pink Thanksgiving banner!!
I’m going to experiment with different blobs of ink and other fun text designs!! Stay tuned right here on Wednesdays for your Cricut fun!!!
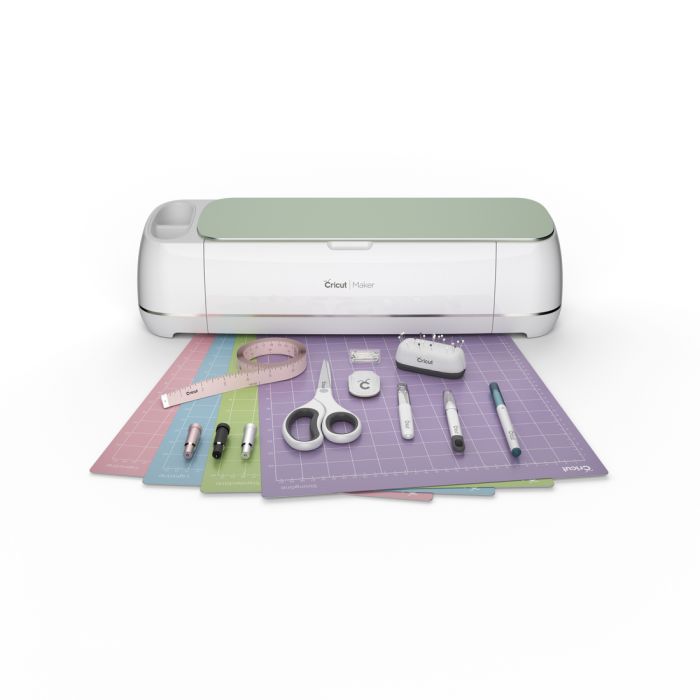
By the way, you need a Cricut Maker!! Grab one for just $349. Valid through 11/26.
Blessings,