I don’t know about you, but I LOVE sewing! My appreciation for sewing started with my own mom. She would sew sweet dresses for me and beautiful bedding to match fun art my father had painted for my room. Later, right after I had my own first baby, I sat down with my mother-in-law and my sister-in-law one afternoon and we all made little outfits for her using Simplicity patterns.
And the garment sewing began.
Fast forward to today – I have made a lot of clothes for my kiddos and for me. But it has been a while since I’ve made baby clothes. As that same first baby approaches the time that she will start having her own kids, I’m brushing up on my baby clothing patterns (no pressure, Cora!). And Cricut has made it super easy for me with their Simplicity patterns!!! This partnership between Cricut and Simplicity is perfect!
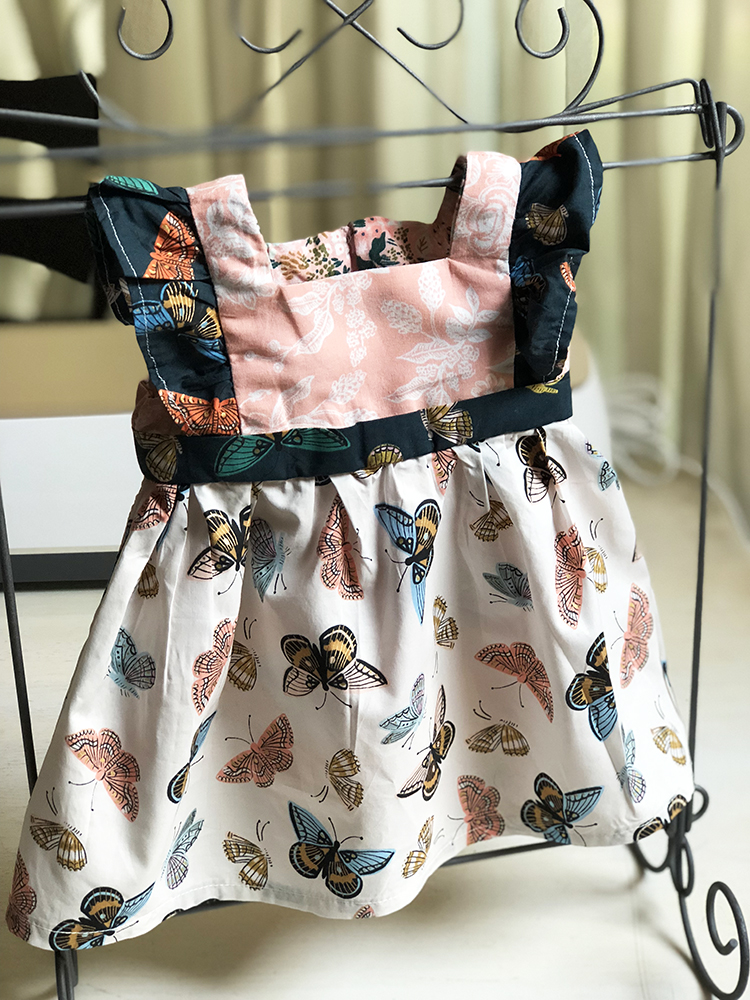
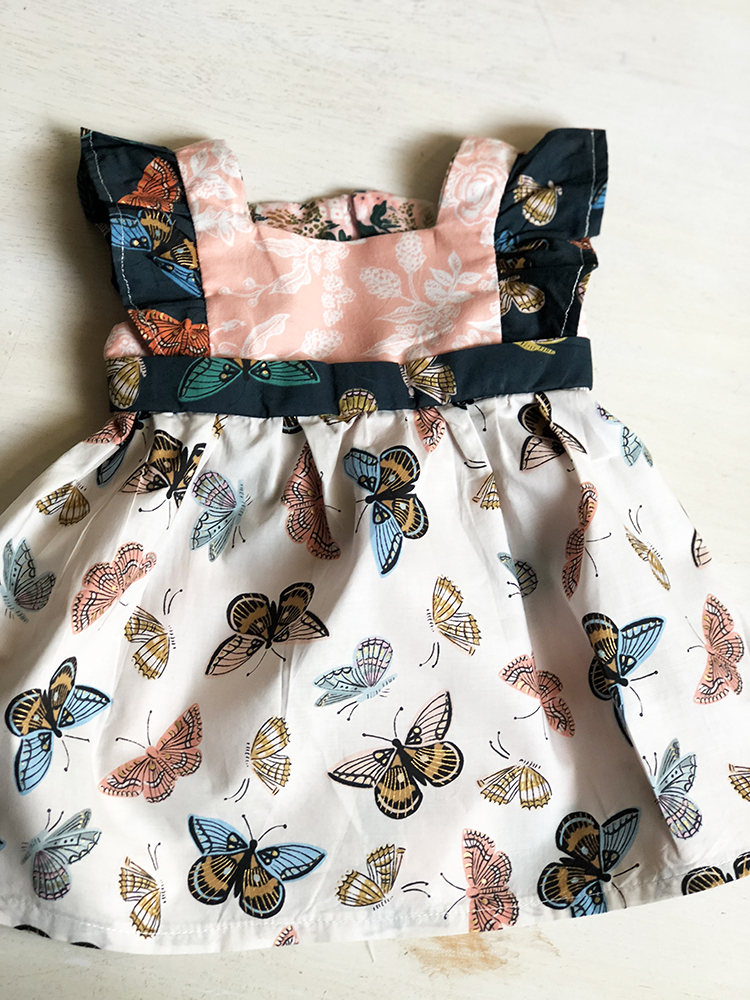
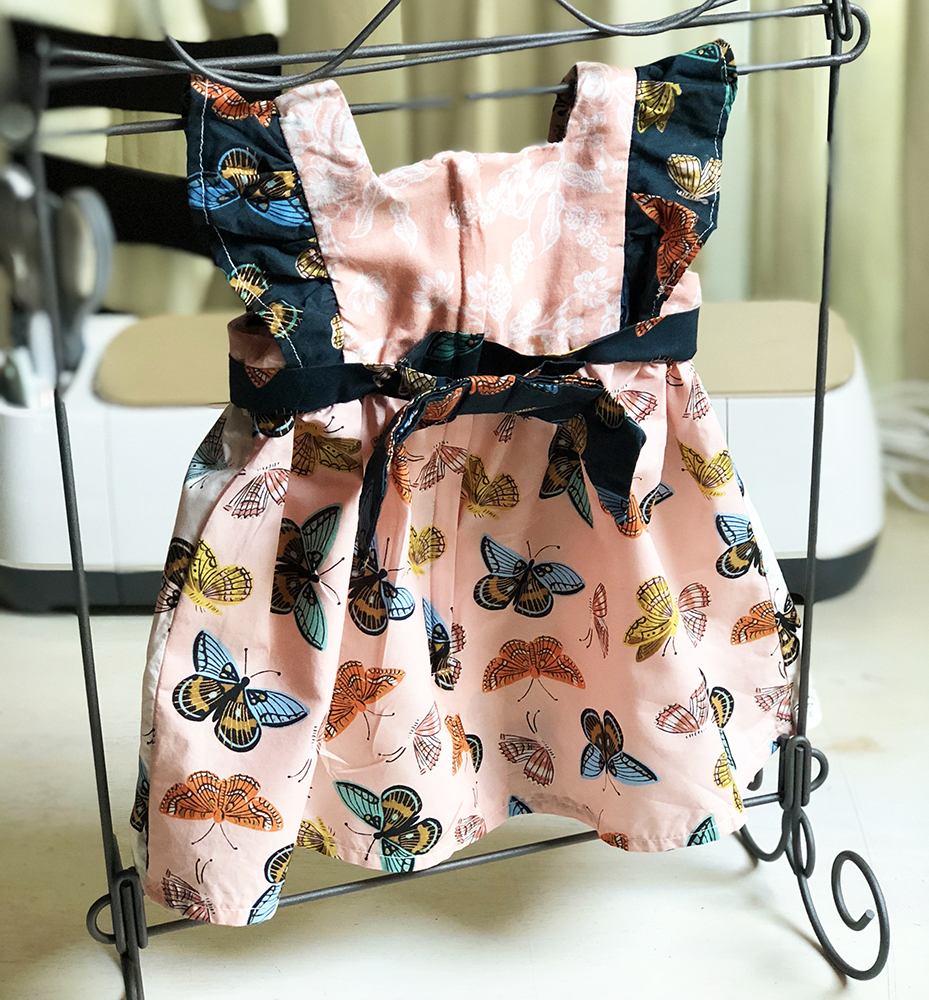
To show you how easy making baby clothes is, I’ve grabbed a Simplicity pattern from Cricut Design Space and made a sweet Ruffle Dress:

{Please pin this!! Let’s get the word out!}
{Cricut & Simplicity have sponsored this review. They are awesome! All opinions and beliefs are my very own. Also, all Cricut links here are affiliate links: which means you don’t pay more when you buy this amazing machine and accessories, but I get a little something to help with my Dave Ramsey Baby Steps!}
So let me run you through my process of making this sweet dress:
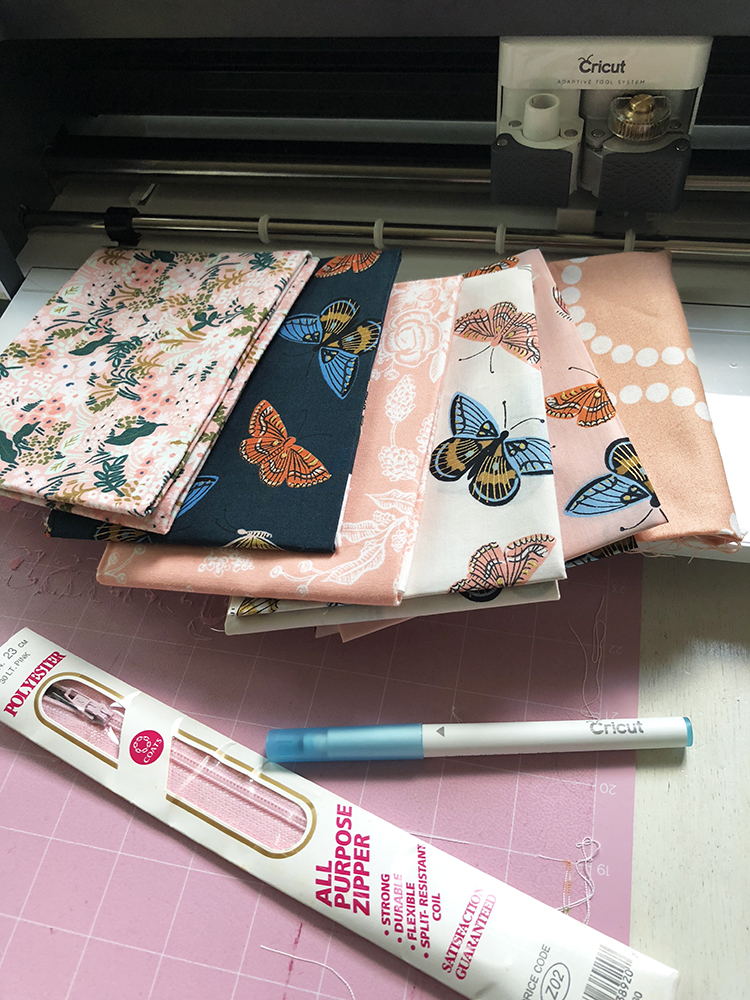
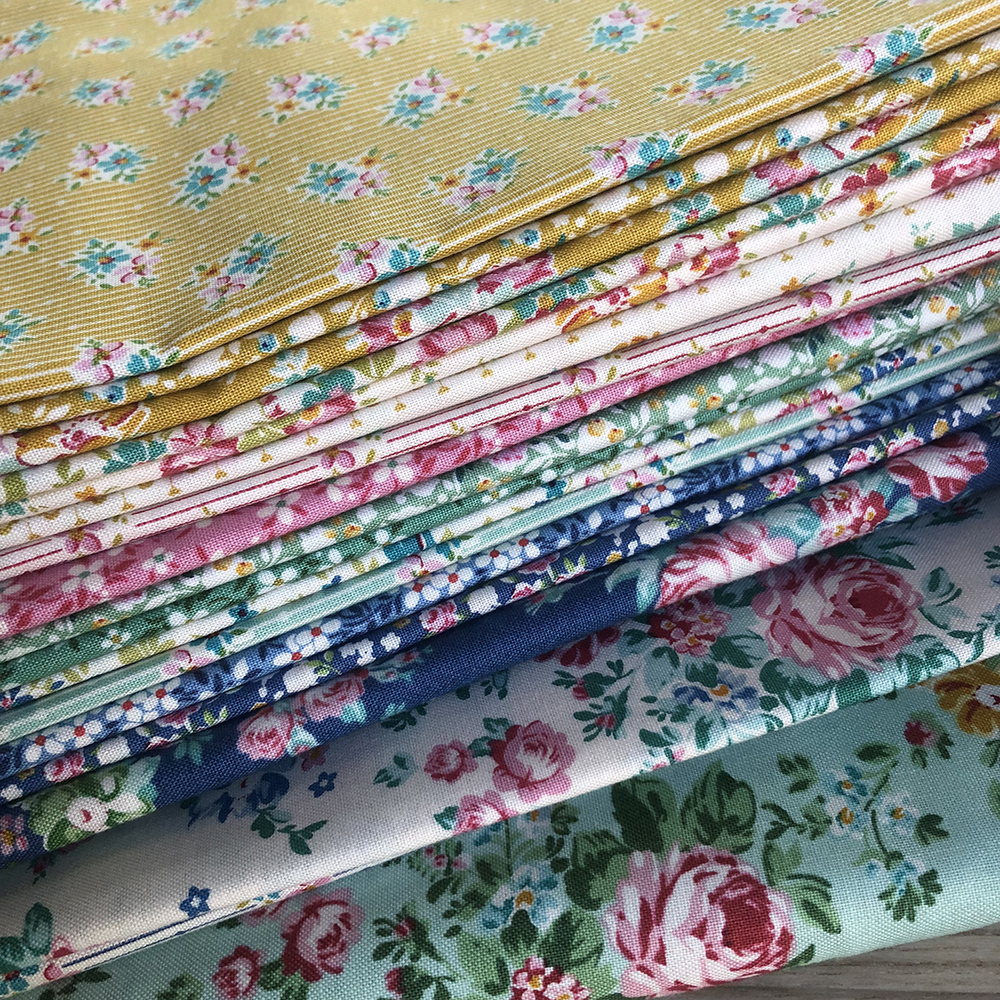
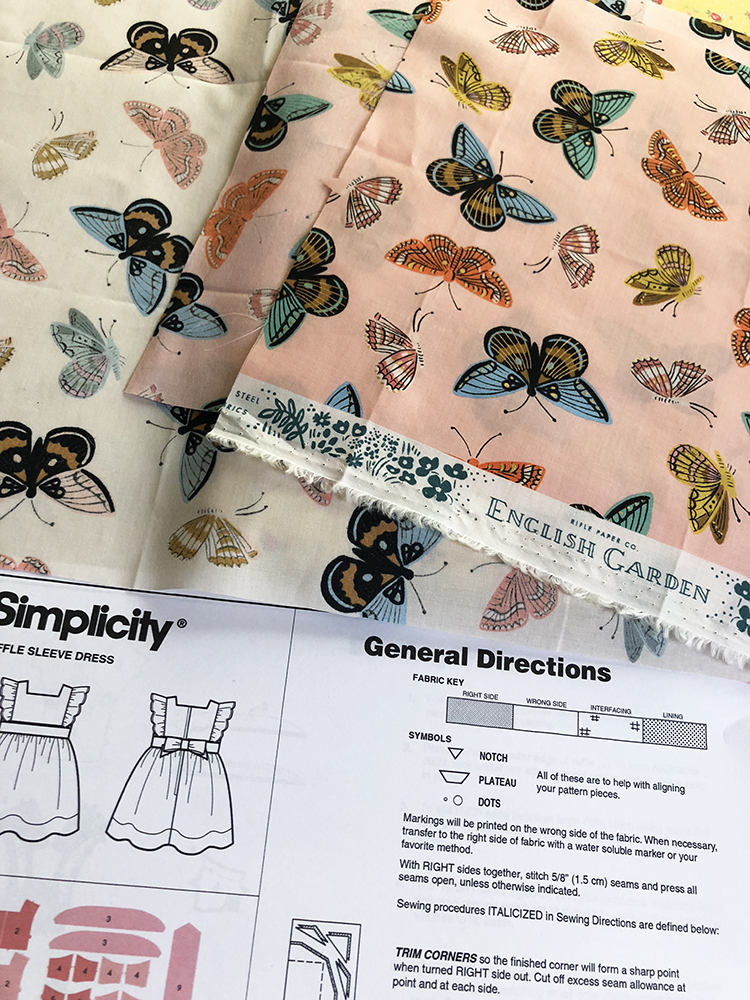
While I was at Quilt Market a few weeks ago, Anna Rifle Bond with Rifle Paper Co. and Cotton + Steel debuted her new fabrics from her new line called English Garden. I knew these fabrics were exactly what I wanted to use to make this sweet Ruffle Dress. But I will tell you, I had to adapt the pattern just a bit because I could only get fat quarters. That’s the beauty of the Cricut Maker. You probably only need fat quarters for your projects because of the sizes of the mats.
The fabric all the way to the right is a Lizzy House Peach Bracelet that I ended up not using because I had enough navy for the ruffles, the waistband, and bow.
Here’s what you need for this sweet project:
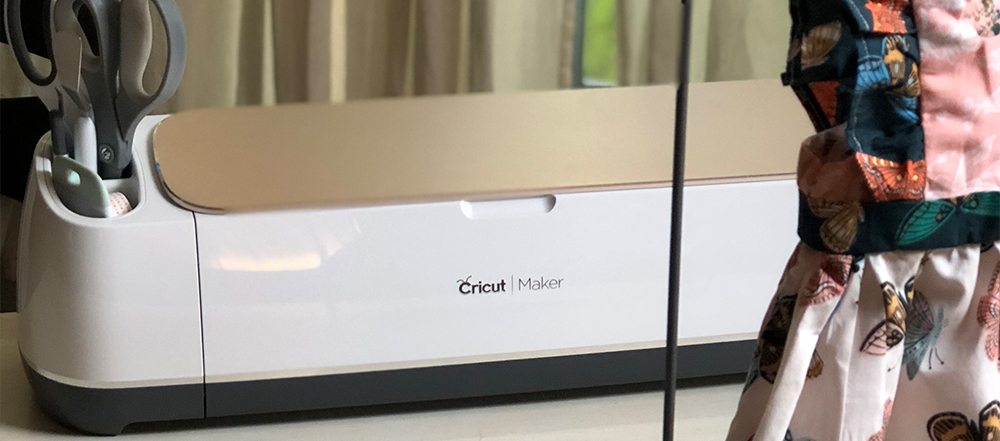
- Cricut Maker
- MatCricut Washable Marker
- Cricut 12×24 FabricGrip Mat
- 3/4 yds of fabric (45″ width) for skirt and bodice
- 3/8 yds of fabric (45″ width) for lining
- 1 fat quarter (18″ x 21″) for ruffles and waistband and bow
- 1 – 9″ zipper
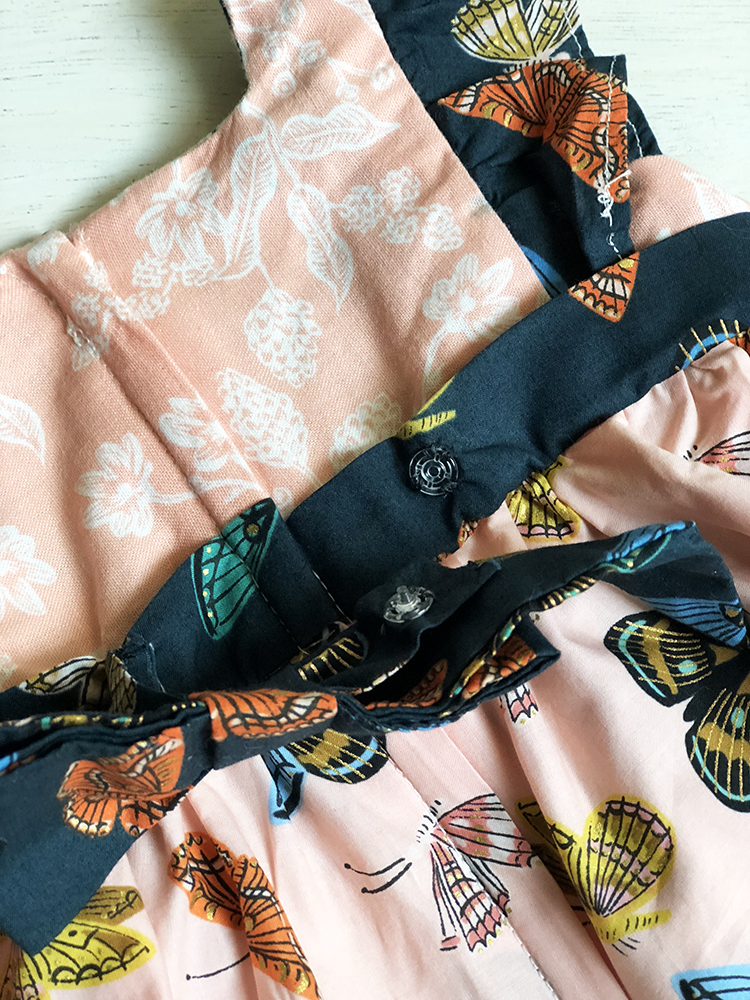
- 1 snap
Before you start, please read everything! I know every pattern says this, but it’s really true! I started to read through everything and found that the combination of the amazing illustrations and great instructions in this pattern really helped me understand the cutting portion before I just slapped some fabric onto my cutting mat (like I tend to do when wanting to get through a project quickly!!). Go ahead and take the time to really understand each step.
I used five fat quarters for my dress. This meant I had to improvise a bit (go against the grain – literally…hahaha!).
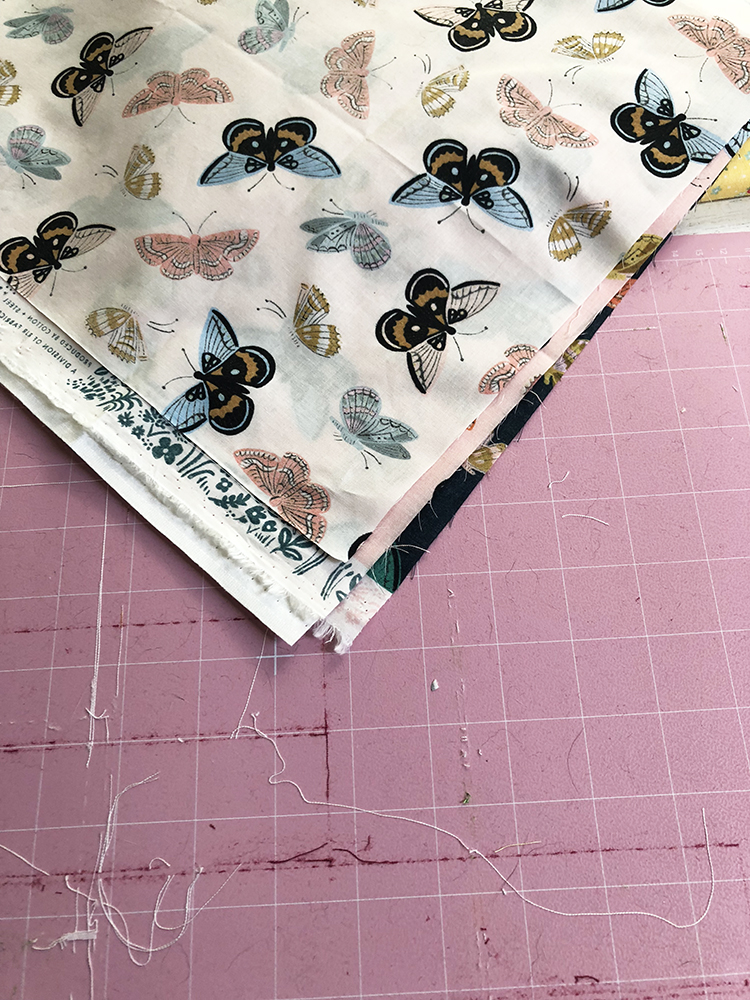
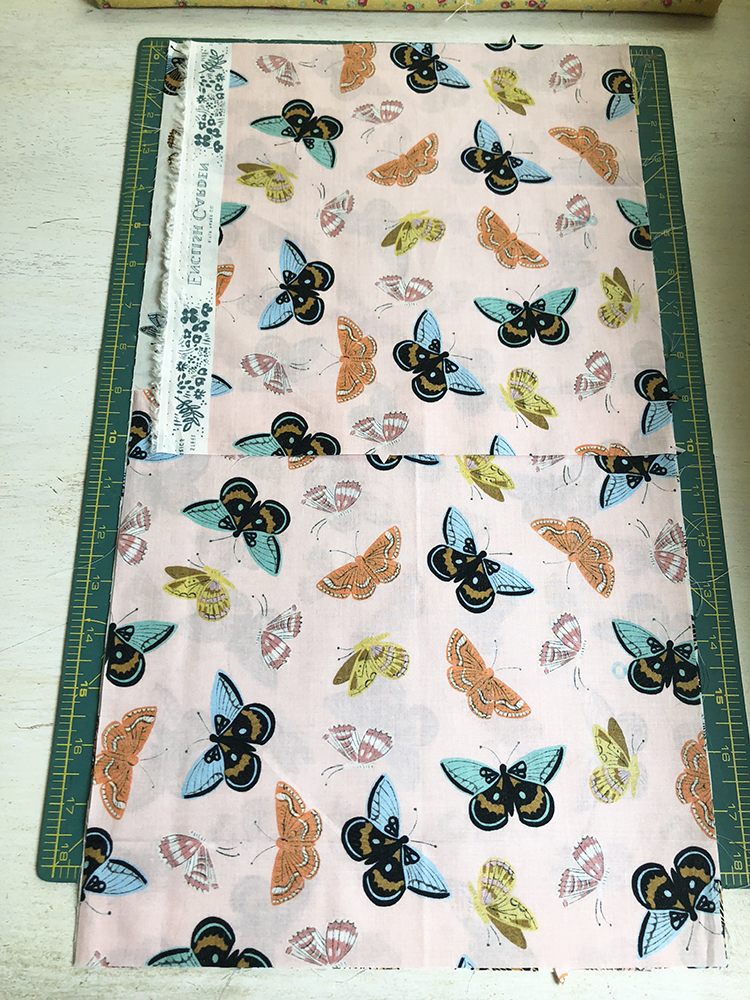
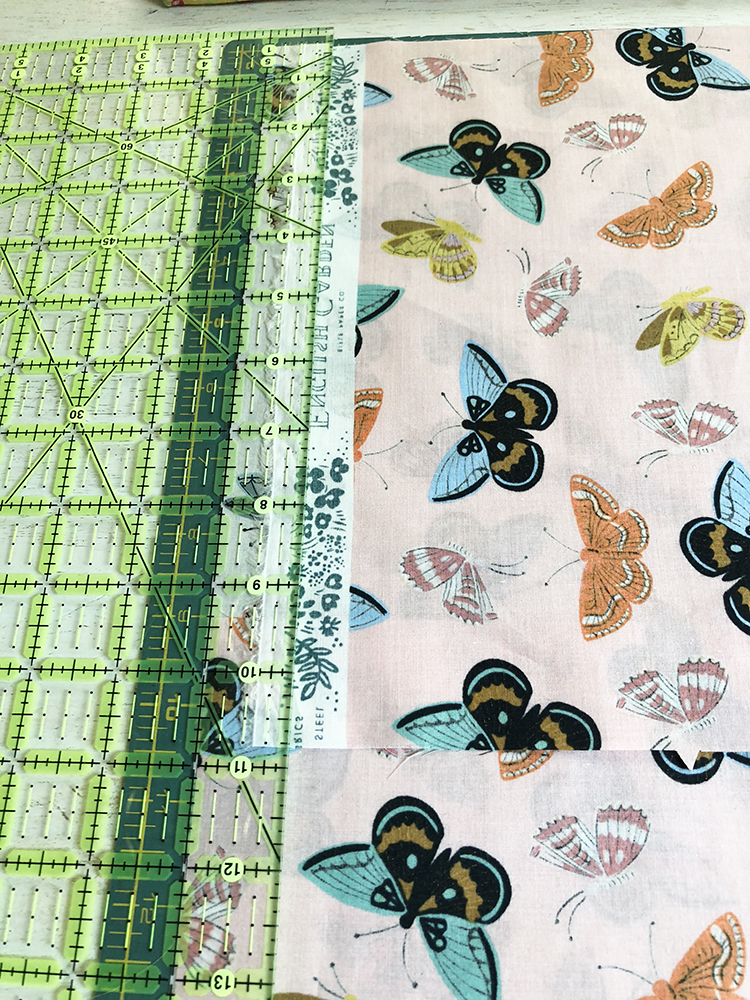
I chose this Butterfly fabric just for the front skirt. Now the pattern calls for it to be turned the other way on the grain, but since I was using fat quarters, I cut it against the grain. Because the fabric is not really directional, you can’t tell! And it’s a baby skirt… and very cute!
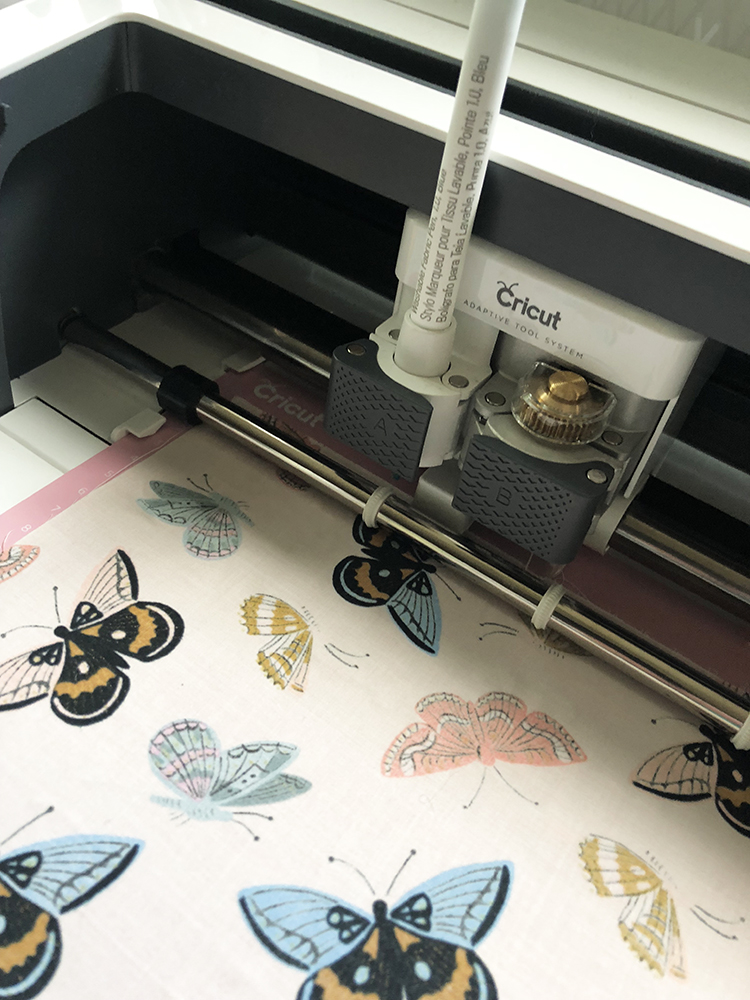
While each mat cut, I prepared the next fabric for the next cut. So it only took a few minutes to cut out the whole dress. Amazing!
My fat quarters were for these pieces:
- Cream butterfly – front skirt
- Peach butterfly – back skirt pieces
- Peach floral – Main Bodice, Side bodice pieces
- Floral – lining bodice and side bodice pieces
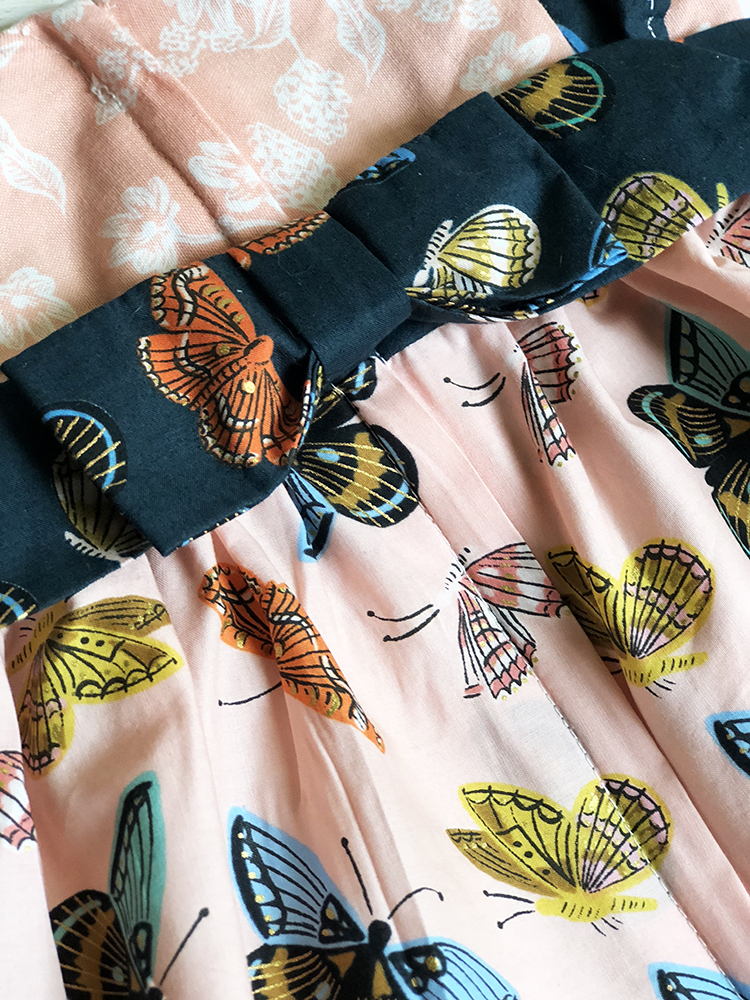
- Navy butterflies – ruffles, waistband, and bow
- (These fabrics are coming to the Intrepid Thread in August and you can preorder yours HERE!!!!)
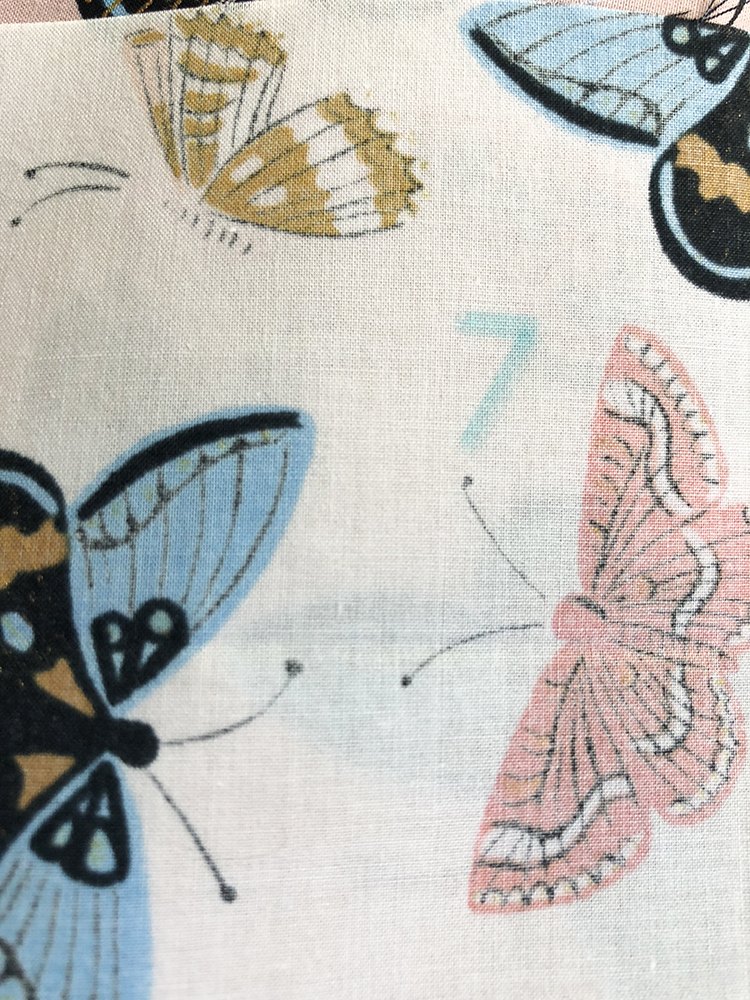
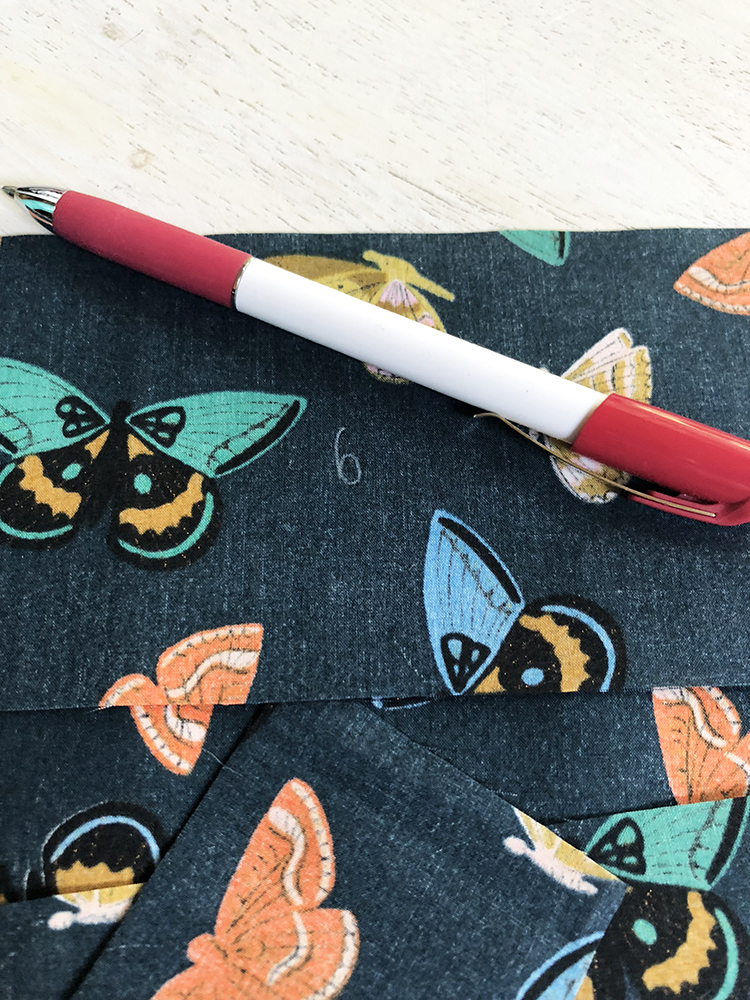
If you look above, there is a 7 written on that fabric. The washable fabric pen writes the pattern number on the back of the fabric!!! Isn’t that amazing? It also makes the pattern markings!! Small dots and large dots and sewing lines for specific pieces…Again, I say..Amazing! And if you don’t want those written on there, you can turn the marking feature off! (Or forget to put in the washable marker when it prompts you…speaking from experience from a while ago! LOL!)
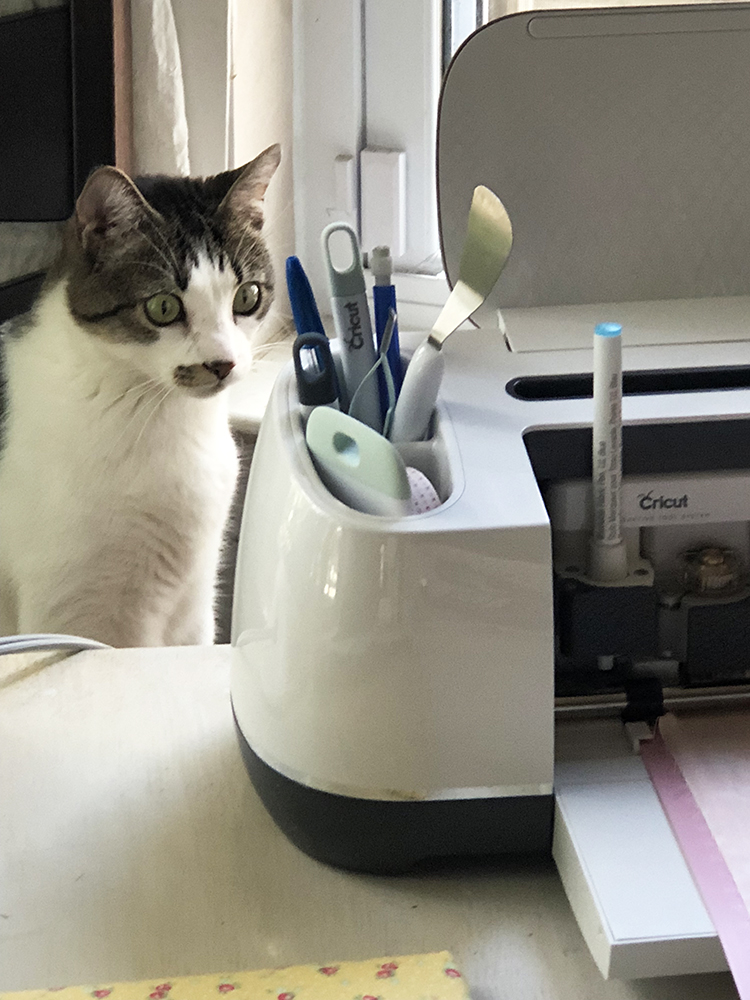
Make sure when your Cricut Maker is cutting, your watchcat is on duty!

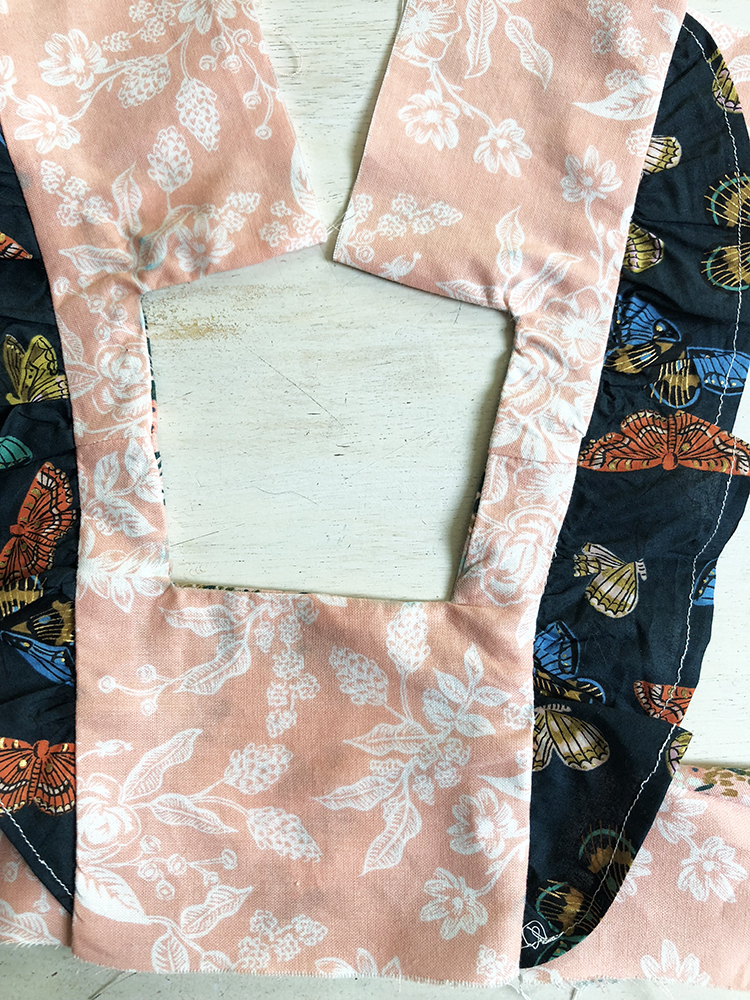
I used a different fat quarter for the bodice front and back. See the markings? So cool!!!
When cutting out and marking dark fabric (ruffles, waistband and bow), I just transferred the markings with a chalk pencil.
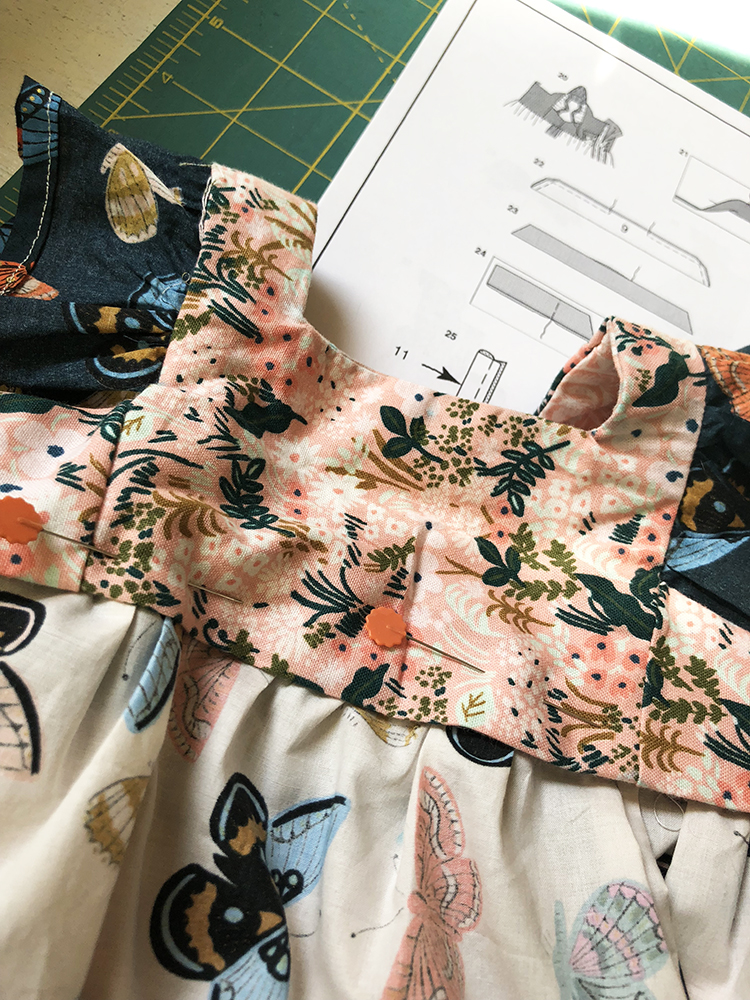
After the Cricut Maker cuts everything out, then you want to download the PDF sewing instructions. I printed mine out (really, so I could watch HULU on my laptop! LOL!!).
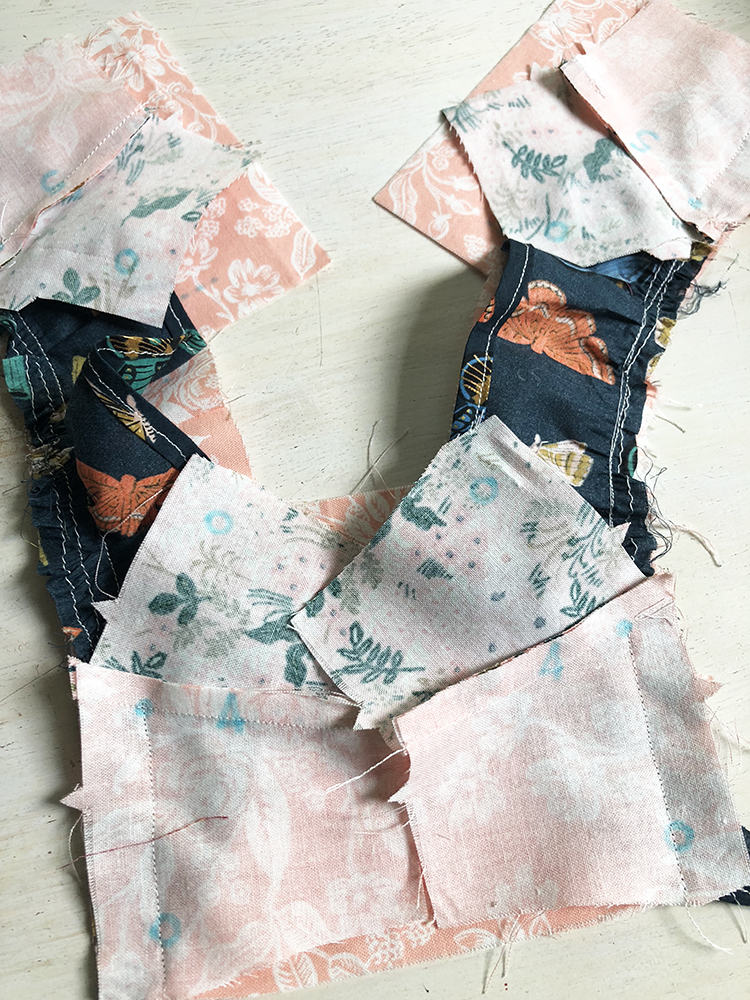
As I said before, the instructions are very clear with wonderful illustrations. You put the bodice together in pieces and baste while piecing. And then add the sides and the lining.
Before I added the skirt, I had to do my second alteration because I used a fat quarter for the back of the skirt.
I laid out the front skirt piece and then matched the back pieces as I would sew the sides together. I knew that one of my pieces of the back skirt was too short. So I decided to leave a little of the selvage on (because I think it’s pretty!) and even up the bottom of the skirt. You don’t see the selvage in the hem unless you really look.
So I sliced a bit off the bottom. And it’s the perfect length!
After attaching the skirt and the zipper in the back (did i mention with great instructions?), you will hand stitch the lining over the large skirt seam. Then the bow on the back with a snap…soooooo cute!! And you are finished!!
I have a couple of tips to share in the making of this:
~ Read all instructions before cutting or sewing!
~ Wash your fabrics before you use them!
~ Seam allowance is 5/8ths unless noted on the PDF instructions
~ Change out your needle with each new project.
~ Follow ALL directions like clipping, turning, pressing…you’ll be happy you did!!
~ Before Step 10 in the instructions, you could take the time to wash off your washable marker with a bit of soap and water. I did that for the front pieces and then I washed my little dress on rapid wash in my washing machine afterwards. When I make this pattern again, I will probably wash the numbers off sooner than later.
~ That little bow on the back is soooo adorable!!! Don’t skip it! It’s perfect!
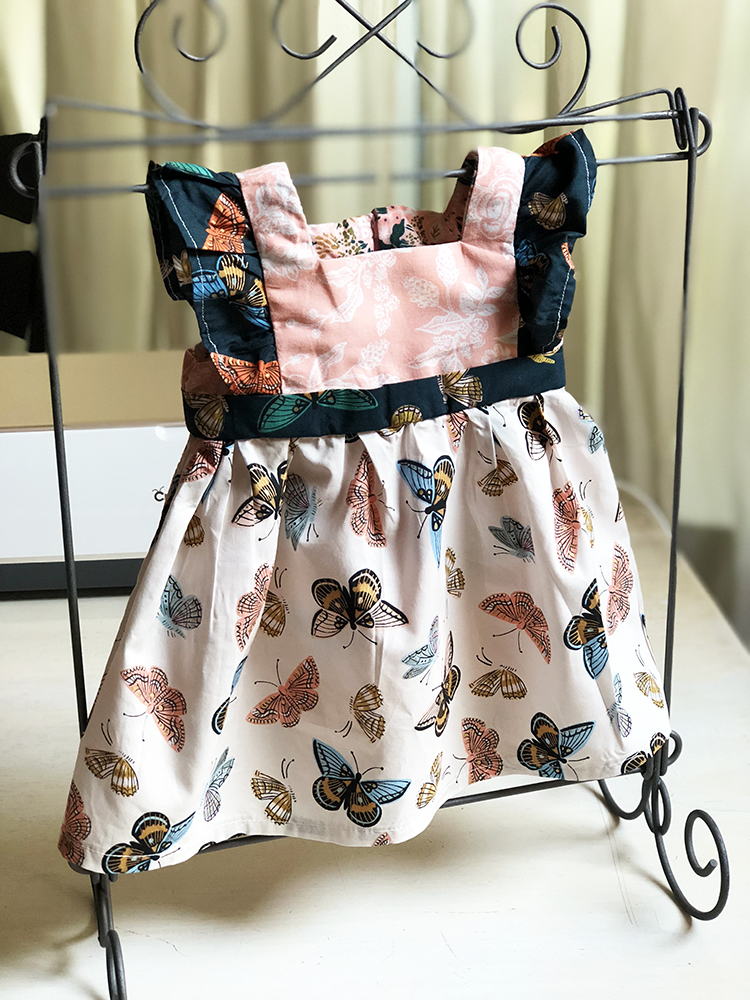
The accuracy of the pieces and the little notches cut out, too, made this pattern soooo easy to sew together. I’m so thankful for a well-written pattern to make my journey back into baby clothes a very satisfying one!!
If you don’t have your Cricut Maker yet, GO here and buy you one! Treat yo’self!! YOU deserve to make baby clothes this fast and this well!!
Stay tuned for a romper next!!!
This is a sponsored conversation written by me on behalf of Cricut. The opinions and text are all mine.